Sending and receiving email with Eudora for Mac OS X
Eudora OSE(open source edition) is an email client that combines Mozilla's Thunderbird with code, features, and GUI elements from Qualcomm's Eudora.
Here we use "test@dynu.biz" as an example to configure this email client.
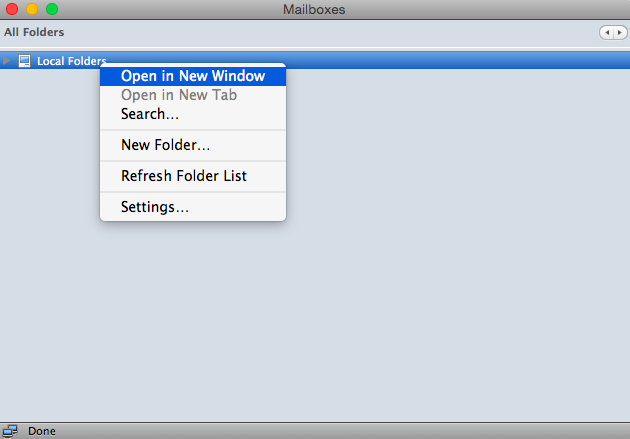
Step 1: Add an email account

After opening Eudora, right click
"Local folders"
to
"open in New Window".
A window will show up where we could
create a new account.
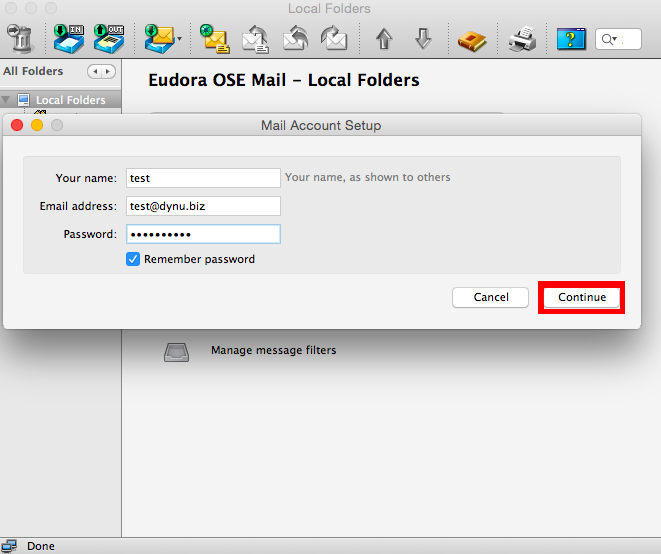
In the following window, choose a name for your account, which would be the name
that people see when they receive email from you. Here we will just use "test".
Then put your email address as the user name and the password you that set up for this account.
Step 2: Set up incoming and outgoing mail server
As you continue, you will see this window looking up the settings for your email account. Click
"Stop"
to edit the configuration.
For IMAP account, choose type as
"IMAP"
and use
yourname-extension-mail.dynu.com
as incoming mail server (in our case, dynu-biz-mail.dynu.com). Use
IMAP SSL port 993.
Use
yourname-extension-smtp.dynu.com
as outgoing mail server (in our case, dynu-biz-smtp.dynu.com). Use
SMTP SSL port 465.
After the above configuration, click
"Re-test Configuration".
When you see two green lights on the left
of the server settings, click
"Create Account"
to continue.
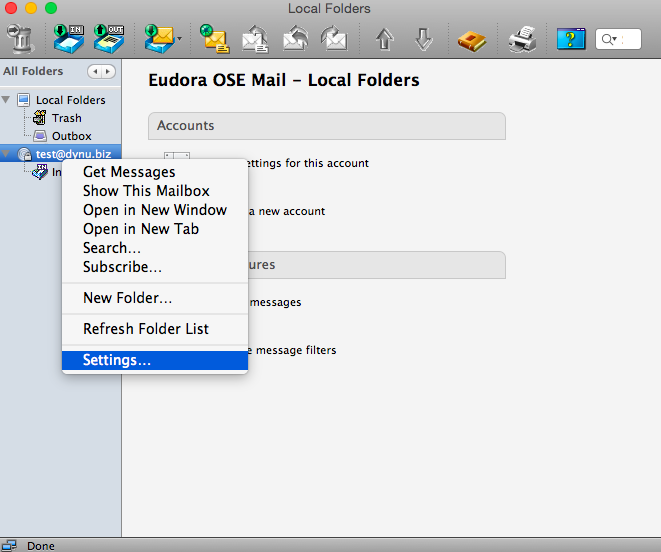
Step 3: Verify account information
Now you can see your account on the left side of the email client interface. You just need to verify one last time the account information,
particularly the information of the incoming server and outgoing server.
Right click your email account(in this case, test@dynu.biz), and choose
Settings
tab, "Account settings" window will show up.
Click on
Server Settings, and make sure that IMAP server is
yourname-extension-mail.dynu.com
port is
993.
Click on
Outgoing Server(SMTP)
tab, verify the information of SMTP outgoing server. Make sure that SMTP server is
yourname-extension-smtp.dynu.com
port is
465.
Now we will be able to send and receive email using test@dynu.biz.
NOTE:
If you are using POP3 protocol, please change the incoming server address to
yourname-extension-mail.dynu.com, and
POP SSL port 995. If you are using non SSL port, please refer
here
for port information.